
Note:
While you have full access to the Account Management menu, best practice is to contact your Findem CSM before making any org-wide changes to your settings.
For Findem Admin users, the Account Management and Organization Settings menus are where you have most control over your platform.
Table of Contents
My Account Menu
The My Account menu allows you to update your basic account information like name, email address, company name and website, etc.
Set up MFA and SSO (Security Tab)
From the Account Management menu, the Security tab allows you to change your password and set up multi-factor authentication for your profile, meaning you will need to confirm their login through a 3rd party method in addition to your username and password.
Note, go to the Organization Security tab below to configure MFA and SSO for the whole org.
Here you can also set up your org's SSO (if applicable). Findem integrates with Okta SSO, PingId SSO and as SAML SSO. For instructions on setting up your org's SSO, click here.
Configure Basic Profile and Campaign Preferences (My Preferences Tab)
With My Preferences, you can enable multiple campaigns, reply tacking, and refresh profiles.
Configure Email Integrations (Email & Email Domain Tabs)
The Admin user will need to head to Account Management > Email Domain set up their org's email integration. Findem integrates with Gmail and Microsoft Outlook. Once email domains are setup, you can add users in Account Management > Email.
Email Domain Authentication
The Email Domain section is where you'll set up your org's domain(s) to ensure emails can be sent in large quantities without them getting stuck in spam folders. Your IT admin will need to ensure DNS records are set up accordingly to ensure your domains are set up properly.
Define Your Company's Competitors (Company Tab)
Enter any companies here that would be considered your company's competition. This populates a dashboard called Competitive Benchmarks in your main Dashboards menu. Here, you'll see general benchmark data from across any competitors you listed, including Gender, Ethnicity, Department, Tenure, number of Starts (new hires) and Exits (termination or left the company) in the past 12 months.
Request New Users and Manage Users in Findem (Manage Users Tab)
As an Admin user, you can contact your Account rep to request from Findem as many new users to your Findem account as you wish. You can also manage each user with the Actions ellipsis next to the user's name. Here you can:
- Edit a user's info
- Unlink the user. This means that the user will be removed from the org, but not deleted
- Delete the user's account from Findem
- Reset the user's password
In addition, you can see each user's role (Admin or non-Admin), as well as whether they're in Anonymous mode or not.
Set up SSO and MFA (Organization Security Tab)
HEre's where you'll go to set up Single Sign-On (SS) and multi-factor authentication (MFA) for all users in your org's Findem instance. Click here for more specific SSO setup information.
Configure Diversity, Equity and Inclusion (DEI) Settings (Diversity & Inclusion Tab)
This menu allows you to configure your org's search priority for diverse candidates. Here you can set your Findem Searches to prioritize candidates based on a number of publicly listed attributes (if available).
Diversity in Searches
Checking this box prioritizes diverse candidates.
Show Diversity at Candidate Level
This is where you can define for your users who qualifies as a diverse candidate.
Definition of Underrepresented Group (URG)
This section allows you to define how Findem Searches will classify URGs.
Region Diversity
This setting is based on the location of a specific project/search. It allows you to exclude certain or all applicable regions for DEI features in Findem projects.
Configure Search Settings (Search Tab)
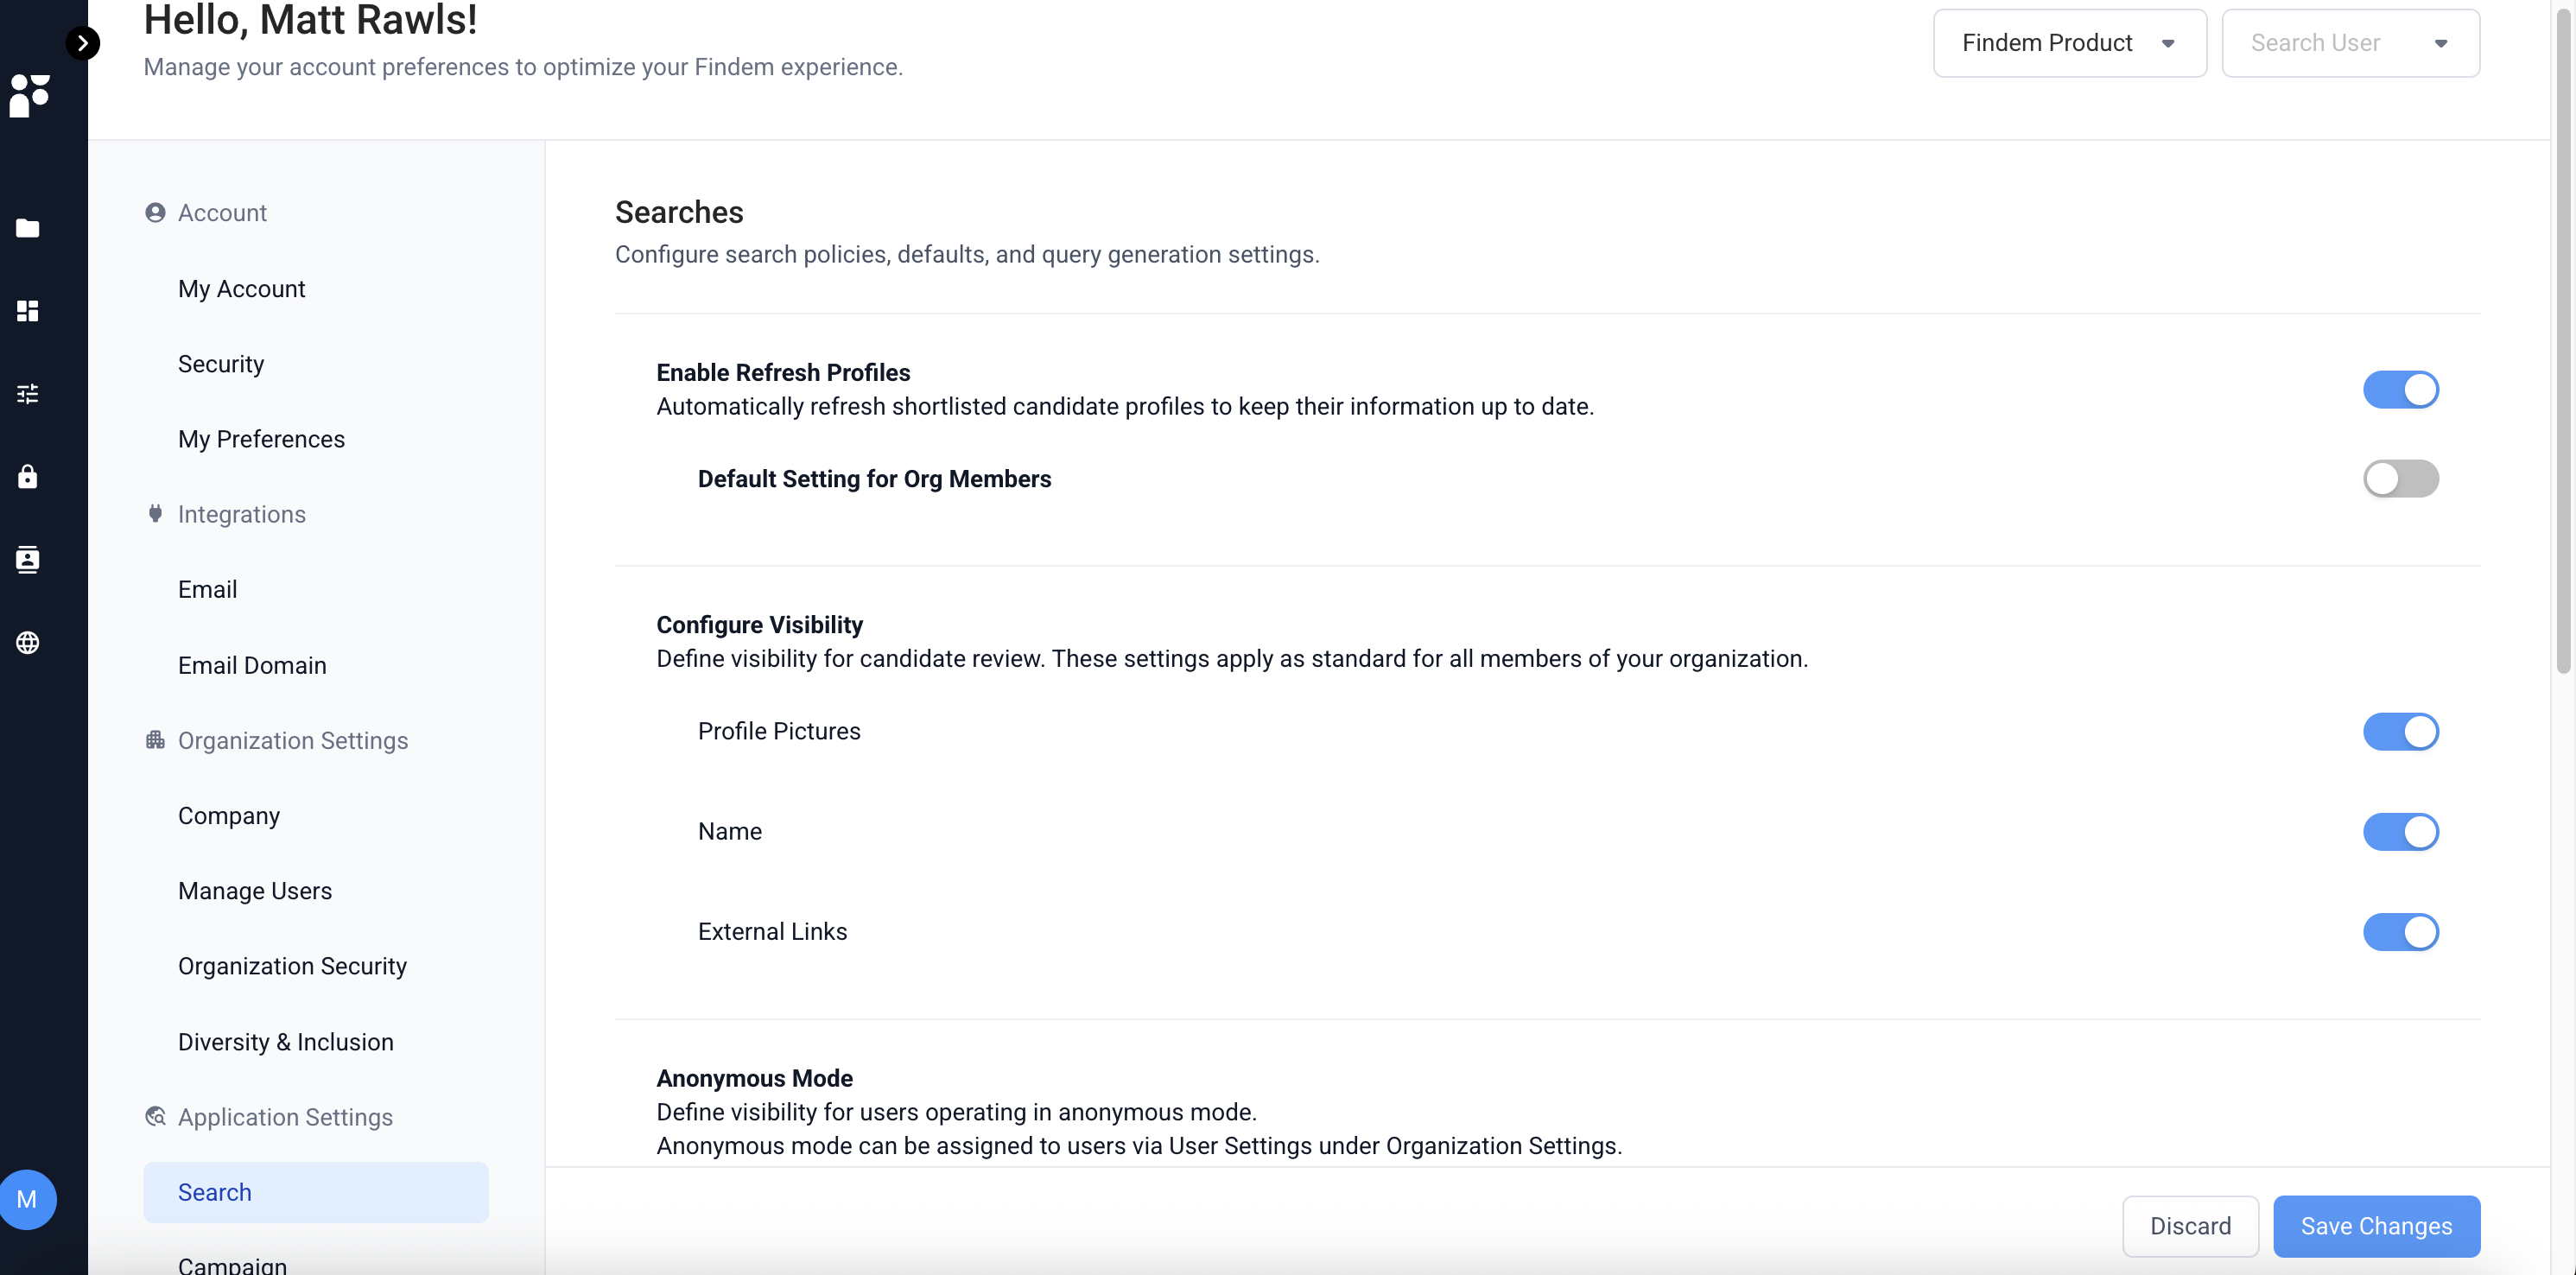 Enable refresh profiles
Toggling this option will allow Findem to keep shortlisted candidates' profiles refreshed so their information stays up to date. If the first toggle is turned on, it sets the org-wide setting for profile refreshes. If the second toggle is on, profile refreshes will be on by default per Findem user profile level.
Configure Visibility
Here you can define visibility limits for your users. By default, all will be selected, but if you want to block profile pictures, names or external links, you can do so. Your users will not be able to see these values when conducting Searches.
Anonymous Mode
Define visibility for users operating in Anonymous mode. Anonymous mode can be used to restrict gender and ethnicity related information as well as inferential information as much as possible to reduce bias for a defined subset of users.
Anonymous mode can be assigned to individual users as well via Organization Settings > User Settings tab.
Apply a Global Search Policy (GSP)
Here you can enter specific attributes as Must Haves and Nice-to-Haves that will be automatically included in every Search. This is great for ensuring certain qualifications are always met without having to manually input them every time or ensure they're included in a job description. With a global search policy, Admins can declare what's important across all searches.
Note that once applied, global search policies will appear in a candidate's enriched profile, not the attribute list of a project. For example, if applying a GSP that a candidate must have 1+ years of experience in their current role, this attribute filter will not appear in the main Attributes sidebar; rather, will be reflected in each candidate's enriched profile.
You can also create and apply a company list as a Global "Nice to Have" (NTH) search policy for your organization. To do this, first create the company list as an attribute in Organization Settings then apply that attribute here as a Global NTH. This approach avoids limits that may apply in the separate Company > Competitors section.
Configure Campaign Settings (Campaigns Tab)
This menu allows you to configure global campaign settings across your org's users, including reply tracking, unsubscribe links, AI enhancement options, and auto-personalization campaign enablement.
Unsubscribe Link
This toggle, when enabled, will automatically include an Unsubscribe link in every email sent out that's part of an email campaign. When your users are assembling campaigns, they will not have the option to take the Unsubscribe link away unless the second toggle in this menu is also enabled.
Note:
Federal law requires all email advertisements to provide recipients with a way to opt-out. If you remove the Findem-generated unsubscribe link, you must replace it with one of your own.
Configure ATS Integrations (Integrations menu)
Your org's ATS can be configured through the Integrations menu. Head to Admin > Integrations. From the Connect ATS option, choose Manage > Connect your ATS system.
For more on each ATS integration Findem offers, click here.
Note that admin users, once the ATS integrations is connected, will have the ability to control advance/reject reasons. Additionally for Workday, this feature enables the ability to ingest a configuration file from Workday to enable the advance/rejection reasons.
In the Integrations > Stage Mapping menu, for non-Workday users, you'll see two new options to exclude various advance/reject reasons. By excluding these, your users will no longer be able to choose them with advancing or rejecting candidates.
For Workday ATS users, this menu will look slightly different. Once you've provided us with the applicable CSV during your Workday ATS setup, you should see similar menu to the image below, where you can toggle various advance/reject reasons based on your file upload.
Comments
0 comments
Please sign in to leave a comment.